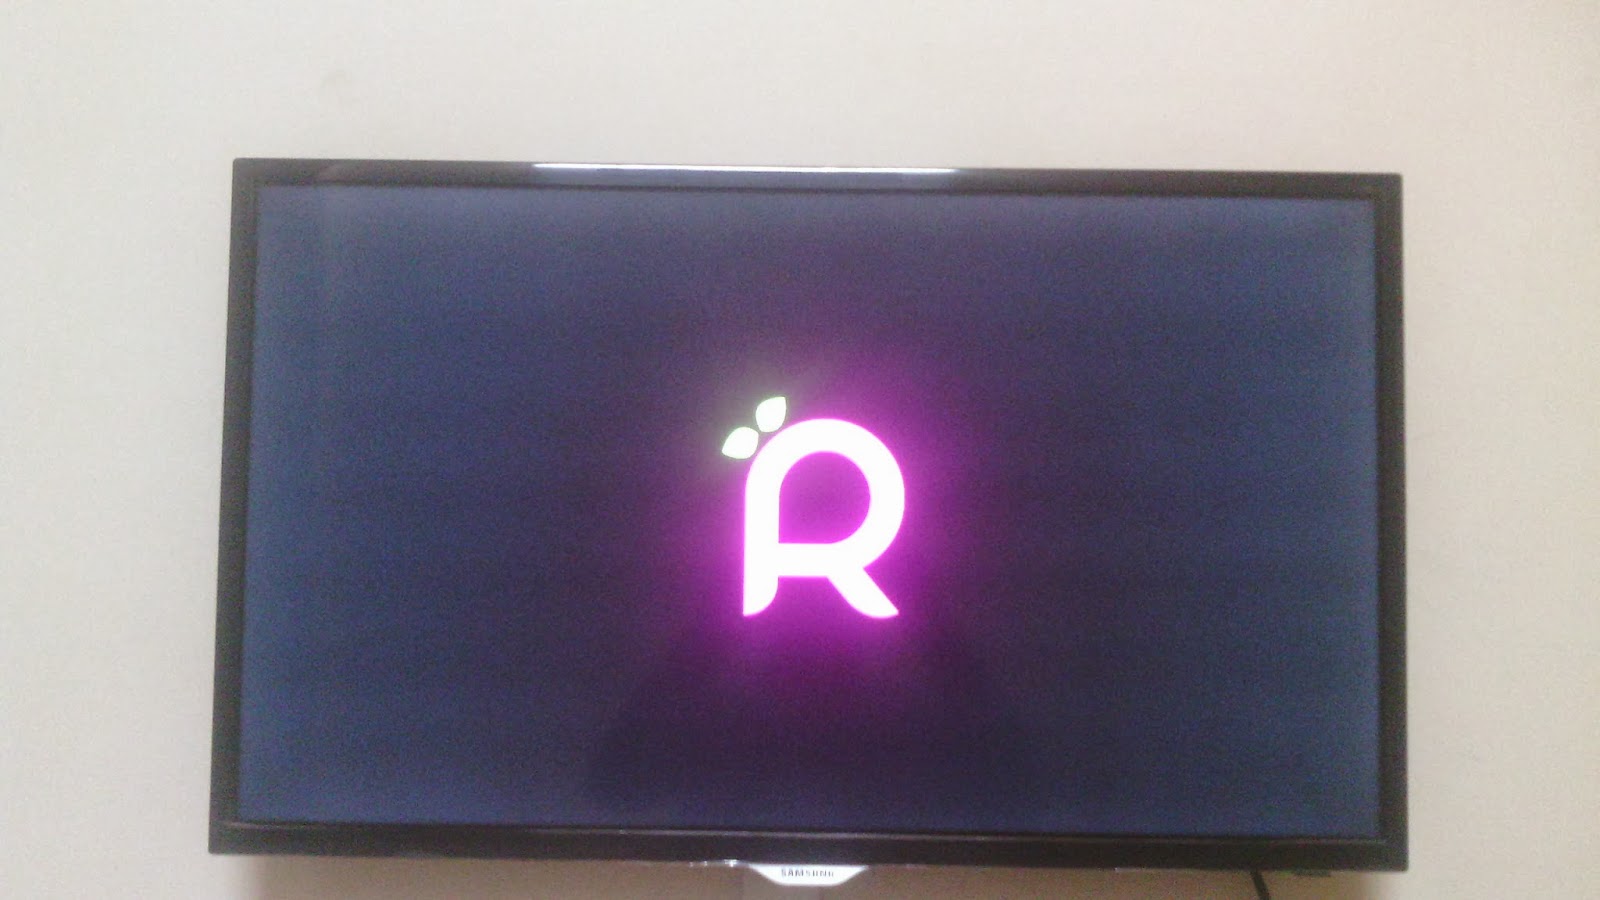
Aim of Tutorial: To convert any LCD/ LED / Plasma Television into a smart television with built in multimedia applications using Raspberry Pi.
Required:
1.> An Internet connection and a LAN Cable.
2.> Raspberry Pi Computer and case.
3.> A standard micro USB mobile charger (5V, 700-1000 ma).
4.> At-least a 4GB SD card or micro-SD card with adapter.
5.> USB Card Reader if no laptop.
6.> HDMI Cable
Download:
1.> Win32 Disk Imager application
2.> Raspbmc_latest.torrent or Direct download raspbmc_latest
[PART-1]: Installing Raspbmc onto Raspberry Pi.
1.> Connect the SD card to a computer using a card reader.
2.> Run Win32 Disk Imager as administrator and browse the raspbmc-2013-12-23.img file.
3.> Now select the appropriate removable disk drive letter from the drop down list (be careful) and press the "Write" button.
4.> After the process of writing completes, safely remove the USB card reader and the SD card and plug it in the raspberry Pi.
5.> Connect the LAN, HDMI, USB Keyboard and Mouse to your Raspberry Pi computer, and power up the system.
Note that, you can use TV's own USB port to power up your Raspberry Pi, in case you do not have any USB port, you can use a standard MicroUSB mobile charger to power up your Raspberry Pi.
6.> In the initial setup, you will be greeted with completing configuration menu from step 1 to 2. your raspberry pi will restart several times to finally show the welcome screen.

7.> Select appropriate language and locale, if you miss out you can change it later from settings menu.
9.> The best thing about Raspberry Pi is that it comes with HDMI-CEC technology, which allows you to remote control the Raspbmc operating system and TV with help of your TV remote simultaneously.
[Part-2]: Navigation using the TV Remote / SmartPhone.
1.> The Directional keys can be used to navigate through menus in XBMC
2.> The Exit button can be used to return to the previous menu.
3.> The Play, Pause, Forward, Reverse and stop buttons can be used to control all your media playback.
4.> The Power button will turn off Raspberry Pi and the TV simultaneously.
5.> The volume button can be used to increase the volume of the playing media.
You can refer to my other post where, I have explained how you can use your smartphone as a Wifi Remote for your Raspberry Pi XMBC media center.


0 comments:
Post a Comment